Scheduled Starter Hut reports via email
You can schedule two reports from Starter Hut just as you would schedule running reports from the Reports module in the 3.98 release. If you run the No Show Detail and the Player Count reports for Starter Hut as your end-of-day tasks, you can have these reports run automatically and then emailed. This will avoid manually printing and emailing the reports every day, which can be time-consuming.
Shout out Megan @clovelly.ca
To schedule and email a report automatically
The Report Scheduling Settings can be found on any screen from the menu bar under Tools. Once opened, the wizard guides you through the setup.
-
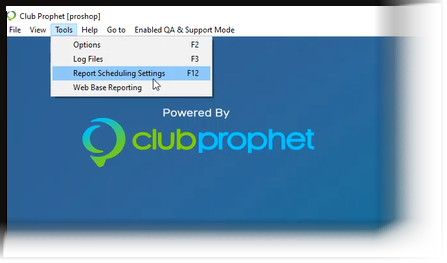
At the top-left of the screen of CPS, from the menu bar select, Tools | Report Schedule Settings [or F12 on your keyboard].
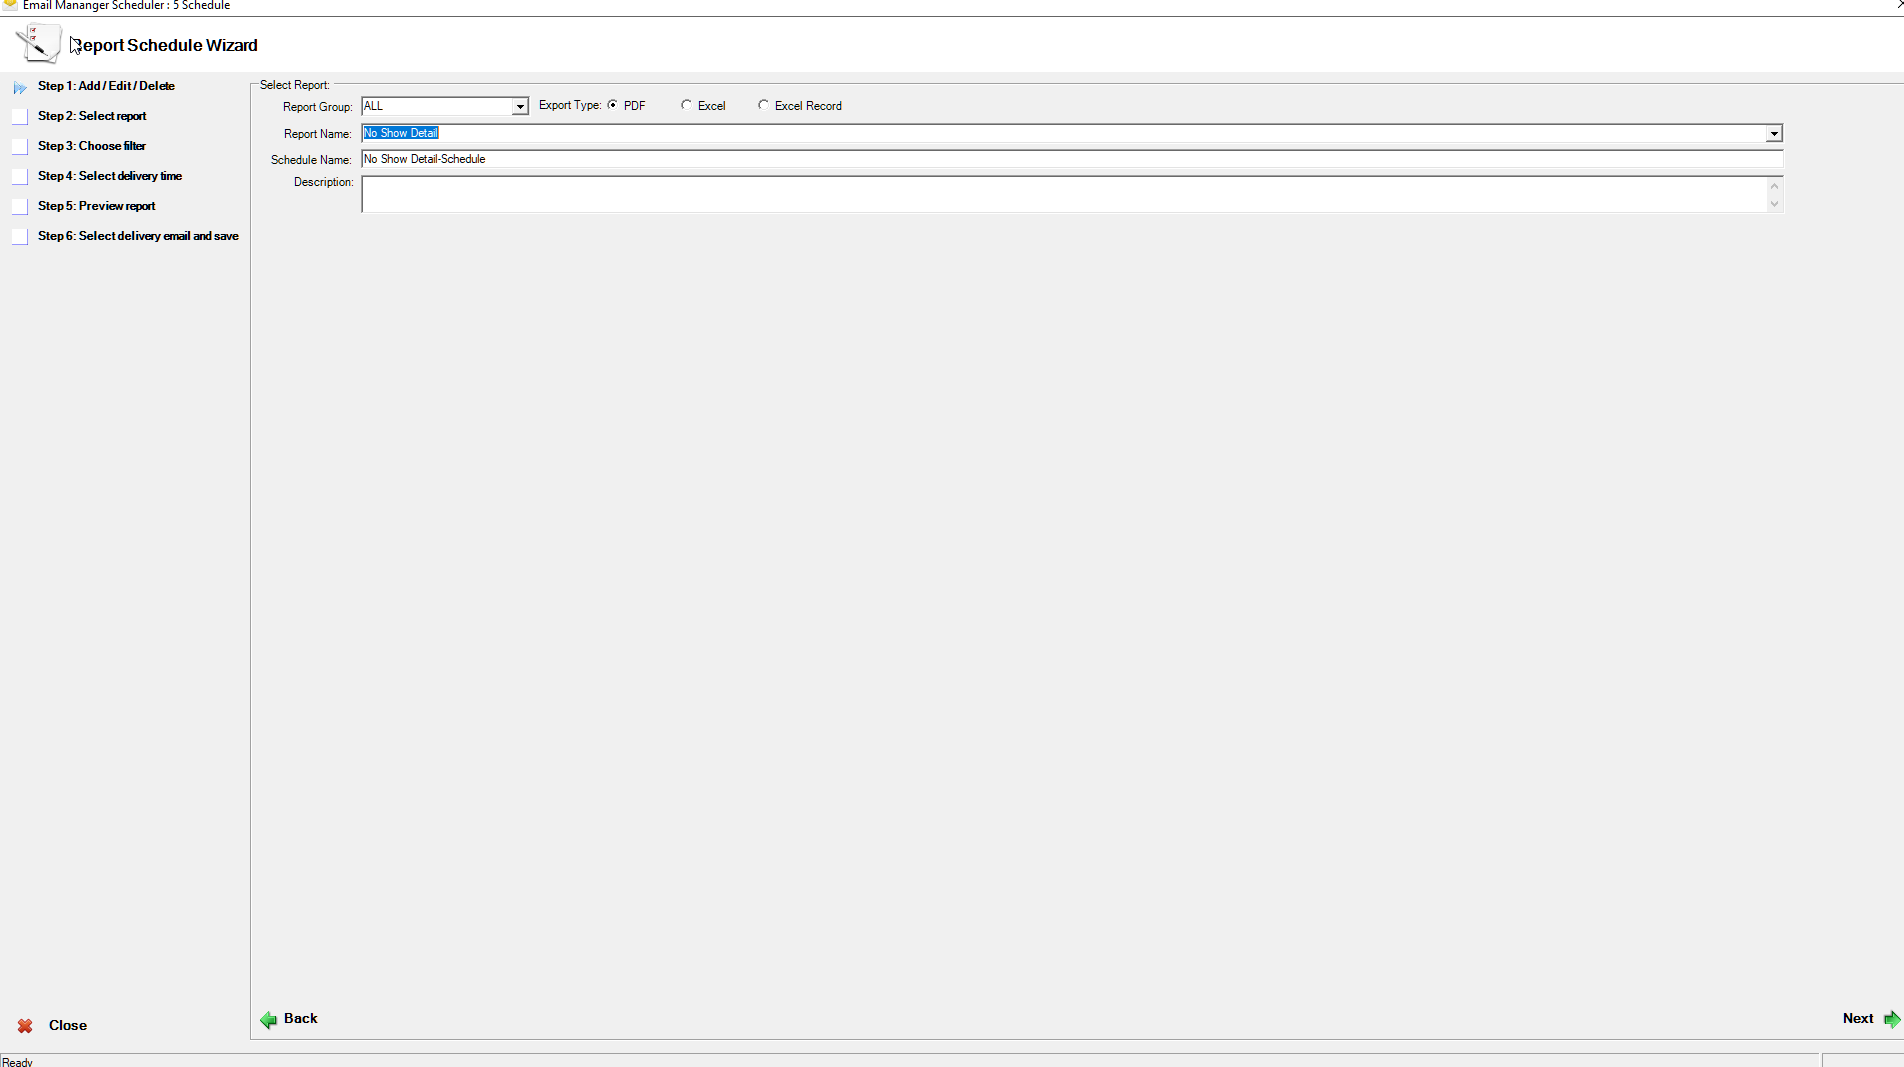
The Report Schedule Wizard displays.
-
You can add, edit, or delete a scheduled report by using the respective buttons at the bottom of the screen.
-
Double-click an existing tee sheet report from the list or click the Add Schedule button in the lower right corner. The Select Report screen displays.
-
From the Report Group, you can narrow your choices of reports down by selecting a group.
Note: If you leave it at ALL, there will be many reports to scroll through.
-
Select the format of the report using the three radio buttons: PDF, Excel, Excel Record.
-
Select the desired report from the Report Name drop-down.
-
Give this scheduled report a name to describe what it is and when it will run, etc, in the Schedule Name field.
-
You can enter a more detailed description of the report in the Description field.
-
Select the Next button in the lower-right corner of the screen. The Choose Filter screen displays.
Note: This filter will apply to the type of report you have selected.
-
Select the desired filters for this report and select Next. The Select delivery time screen displays.
In the Delivery Time Setting section, select from the How often? drop-down: Daily, Weekly, or Monthly.
-
If you select Daily, you need only to select a time from the Time field.
-
If you select Weekly, the Day field and Custom Week Range checkbox is enabled.
-
If you select Monthly, the Day field’s selection becomes numbers, and a Last day of the month checkbox displays. The Run for Prior Month checkbox is enabled so that you can run the report for the prior month.
-
After you have selected when the report should run automatically, select the Next button. The Preview Report screen displays.
-
Select the Display Report button in the lower right corner of the screen to see the report.
-
Select Next if satisfied with the results. The Select delivery email and save screen displays.
-
Select the checkbox to the left of the admin/user who needs to receive the report.
-
Select Submit in the lower right corner of the screen. The Update successful pop-up box displays.
-
Click OK. That report is added to the list of scheduled reports.
Note: You can select it and click Delete Schedule to remove it from the list or click Edit Schedule to modify the report.
-
Click Close in the lower-left corner to close the screen. When the day and time are hit, the report will be triggered to run and the email will be sent to the selected user(s).